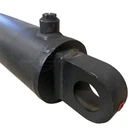


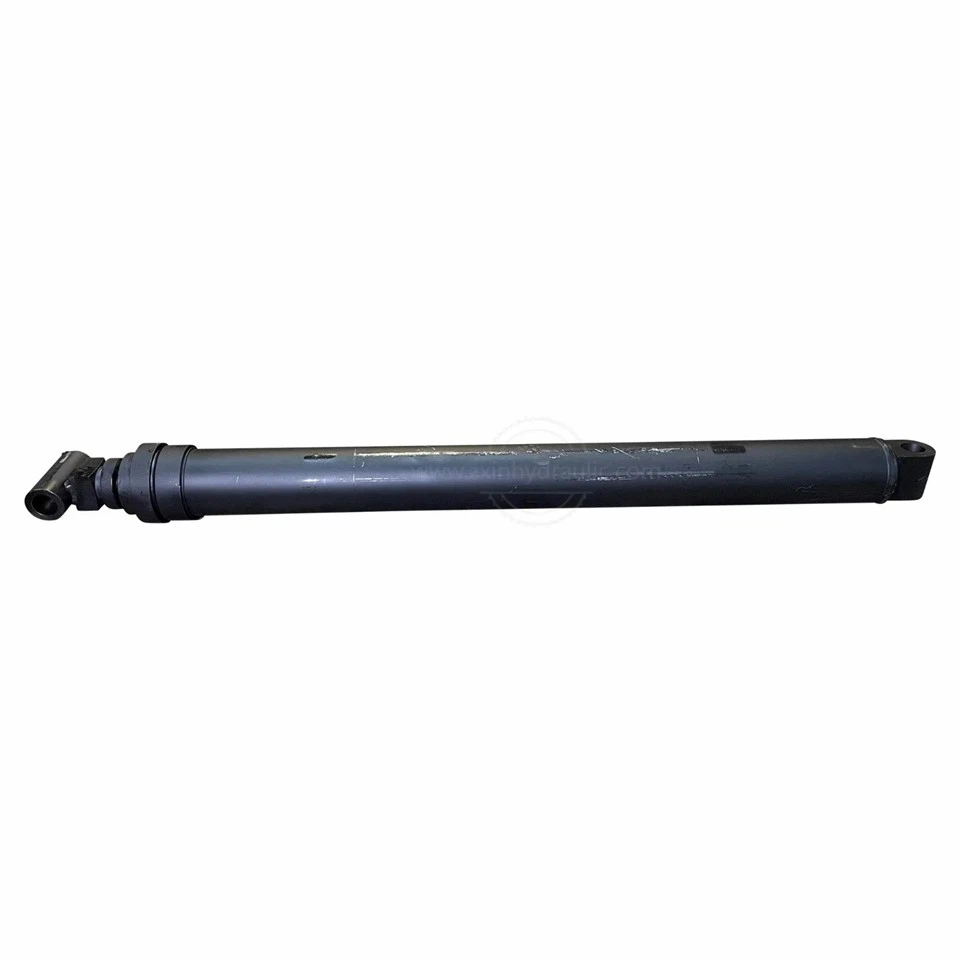
Hey there, folks! I'm a supplier of Compactor Cylinders, and today I wanna share with you how to replace the seals in compactor cylinders. It's a task that might seem a bit daunting at first, but with the right know - how and a bit of elbow grease, you can get it done.
First off, let's talk about why you might need to replace the seals in the first place. Over time, seals can wear out due to regular use, exposure to different environmental conditions, or just plain old age. When seals start to fail, you might notice hydraulic fluid leaks, reduced cylinder performance, or even complete malfunction of the compactor. So, keeping an eye on the condition of your seals and replacing them when necessary is crucial for the smooth operation of your compactor.
Step 1: Gather Your Tools and Materials
Before you jump into the seal replacement process, you need to make sure you have all the right tools and materials on hand. Here's a basic list:
- A set of wrenches: You'll need different sizes to remove the cylinder from the compactor and disassemble it.
- Seal kit: Make sure you get the right one for your specific compactor cylinder model. You can usually find these at specialized hydraulic parts stores or order them directly from the manufacturer.
- Clean rags: To wipe down the parts and keep everything clean during the process.
- Hydraulic fluid: You'll need to refill the cylinder after the seal replacement.
- A workbench or a stable surface to work on.
Step 2: Safety First
Safety should always be your top priority when working on any hydraulic system. First, make sure the compactor is turned off and all the hydraulic pressure is released. You can do this by operating the controls to move the cylinder to its fully extended or retracted position, then turning off the power and disconnecting the hydraulic hoses. Wear safety glasses and gloves to protect yourself from any potential hydraulic fluid splashes or sharp edges.
Step 3: Remove the Cylinder
Once you've ensured safety, it's time to remove the cylinder from the compactor. Use your wrenches to loosen and remove the mounting bolts that hold the cylinder in place. Carefully disconnect the hydraulic hoses from the cylinder ports. Be prepared for a small amount of hydraulic fluid to leak out when you disconnect the hoses, so have your rags ready to clean it up.
Step 4: Disassemble the Cylinder
Now that the cylinder is removed, place it on your workbench. Start by removing the end caps or gland nuts. This will expose the piston rod and the internal components of the cylinder. Depending on the design of your cylinder, you might need to use a special tool to remove the retaining rings or snap rings that hold the end caps in place.
Once the end caps are off, you can carefully slide the piston rod out of the cylinder barrel. As you do this, pay close attention to the position and orientation of the seals. You can use your rags to clean the piston rod and the inside of the cylinder barrel as you go.

Step 5: Remove the Old Seals
The old seals are usually located in grooves on the piston, the rod, and the end caps. Use a seal pick or a small flat - head screwdriver to carefully pry out the old seals. Be very careful not to scratch or damage the surfaces where the seals sit, as any damage could lead to future seal failures.
Step 6: Inspect the Components
While you have the cylinder disassembled, take the time to inspect all the components for any signs of wear, damage, or corrosion. Check the piston rod for scratches or dents, and the cylinder barrel for any signs of scoring or pitting. If you find any damaged parts, it's a good idea to replace them at the same time as the seals to ensure optimal performance.
Step 7: Install the New Seals
Before installing the new seals, make sure they are the correct size and type for your cylinder. Lubricate the new seals with a small amount of hydraulic fluid. This will make them easier to install and help prevent damage during the installation process.
Start by installing the seals in the grooves on the piston, rod, and end caps. Use your fingers or a seal installation tool to gently press the seals into place. Make sure they are seated properly and there are no twists or folds in the seals.
Step 8: Reassemble the Cylinder
Once the new seals are installed, it's time to reassemble the cylinder. Carefully slide the piston rod back into the cylinder barrel. Make sure it goes in smoothly and there are no obstructions. Then, reinstall the end caps or gland nuts and tighten them to the manufacturer's specifications. Use a torque wrench to ensure proper tightening and prevent over - or under - tightening.
Step 9: Reinstall the Cylinder
With the cylinder reassembled, it's time to put it back on the compactor. Reconnect the hydraulic hoses to the cylinder ports, making sure they are tightened securely. Then, use your wrenches to reinstall the mounting bolts and tighten them.
Step 10: Refill and Test
After the cylinder is reinstalled, refill the hydraulic system with the appropriate amount of hydraulic fluid. Check the fluid level in the reservoir and top it up if necessary. Then, turn on the compactor and operate the controls to test the cylinder. Check for any leaks around the seals or the hydraulic connections. If everything looks good and the cylinder is operating smoothly, you've successfully replaced the seals!
Now, if you're in the market for high - quality compactor cylinders, we've got you covered. We offer a wide range of cylinders, including Dump Cylinder, Packer Cylinder, and Ejector Cylinders. Our products are known for their durability and performance, and we also provide excellent after - sales support.
If you're interested in our compactor cylinders or have any questions about seal replacement or our products in general, don't hesitate to reach out. We're always here to help you with your hydraulic needs and get you the best solutions for your compactor.
References
- Hydraulic Cylinder Maintenance Guide - General Hydraulics Handbook
- Compactor Cylinder Manufacturer's Manuals